

Kirigami Pop-Up Card
is paper art that uses cuts as well as folds. With one sheet of paper and a pair of scissors you can make a card that springs open into 3D steps and a talking mouth. In 15 minutes you learn the two cuts behind most pop-up cards, the same ones a starts with.
What you'll do
Cut and fold one sheet into a card with a pop-up box step and a pop-up mouth, then open and close it 10 times.

At a glance
- Time
- 15 minutes for your first session
- Cost
- Nothing to buy. It uses things you already have at home.
- You need
- One sheet of printer paper, Scissors, A pencil
- Members
What you need
Required
- One sheet of printer paper · $0 · household
Letter or A4. Thicker paper, like card stock, pops up more firmly but is harder to cut.
Alternatives: A cereal box panel for a sturdy card, A page of thin card
- Scissors · $0 · household
Small, sharp scissors make the short cuts easier.
Alternatives: A craft knife with an adult and a cutting board
- A pencil · $0 · household
For marking cut lines.
Alternatives: A pen
Nice to have
- A ruler · $0 · household
For measuring cut lengths.
Alternatives: A credit card, whose long side is about 3.4 inches and short side about 2.1 inches, Fold a strip of paper to mark lengths
How to do it
Pick up where you left off
Step ·
Lay the sheet in landscape. Fold it in half left edge to right edge so you have a card about 5.5 inches wide and 8.5 inches tall. Crease the fold hard with your thumbnail. Turn the card so the fold is along the bottom, facing you, and the open edges are at the top. You will cut into the card from this folded edge. If the edges do not line up before you crease, trim the uneven strip off; a crooked fold makes the pop-up lean to one side.
Show helpHide help
Tip: Common mistake: cutting from the open edges. Every pop-up cut starts at the fold; if a piece falls out, you cut the wrong side.
Measure along the folded edge and make two pencil marks, 2.5 inches and 4.5 inches from the left end, so they are 2 inches apart. From each mark, draw a line straight up from the fold, 1.5 inches long. Keeping the card folded, cut along both lines through both layers. Stop exactly at the end of each line. The most common mistake is cutting from the open edges instead of the fold; if your strip falls out as a loose piece, that is what happened, so start a new sheet and cut from the folded side.
Show helpHide help
slit: A straight cut into the paper that does not remove any paper.
box step: A pop-up made from a strip between two parallel cuts that stands out as a box when the card opens.
Tip: Common mistake: cutting from the open edges. Every pop-up cut starts at the fold; if a piece falls out, you cut the wrong side.
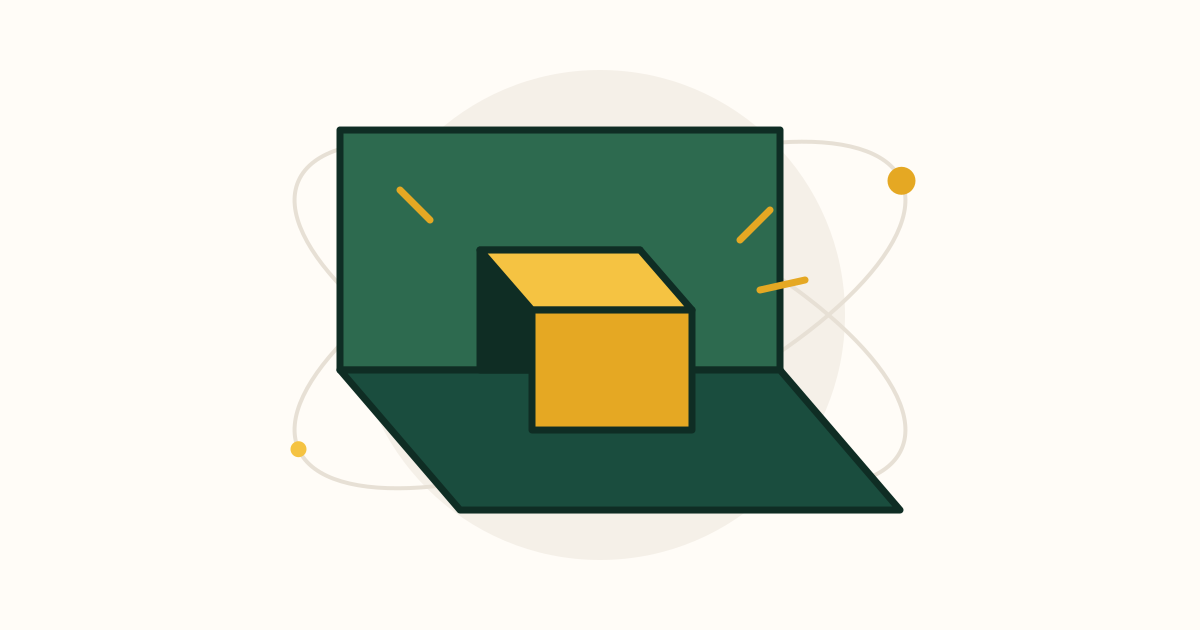
Fold the strip between the two slits up along an imaginary line joining the tops of the cuts, so it lies on the card. Crease hard, fold it back down, and crease again. Now open the card to a right angle, like an open book standing on its spine. Push the strip with a fingertip from the outside toward the inside, so it reverses its creases and stands up as a box shape inside the card. Close the card and press it flat to set the folds, then open it again. If the box will not stand, the folds are too soft; crease the strip back and forth once more.
Show helpHide help
Tip: Common mistake: cutting from the open edges. Every pop-up cut starts at the fold; if a piece falls out, you cut the wrong side.
Close the card. Mark the folded edge 2 inches from the right end and cut one straight in from the fold there, 1.25 inches long. Fold the paper on the left of the slit back diagonally, from the top of the cut down to the fold, making a triangle. Fold the right side the same way so the two triangles mirror each other. Crease both hard in both directions, then flatten them back. Open the card to a right angle and push the two triangles inside as you did with the box. They pop out as a beak that opens and shuts as you move the card. If the mouth tears at the end of the cut, the slit was cut past your line.
Show helpHide help
Tip: Common mistake: cutting from the open edges. Every pop-up cut starts at the fold; if a piece falls out, you cut the wrong side.
With the card open, draw on the pop-ups. Turn the box into a little building, a gift, or a step for a figure to stand on. Draw eyes above the mouth so it becomes a bird or a monster that talks when you open and close the card. Use pencil first, lightly, then go over it in pen. Do not draw too close to the cut edges on the mouth or the pen can snag and rip the paper. Keep the outside plain for now; the cut holes show from the back, which is normal for a single-sheet card.
Show helpHide help
Tip: Common mistake: cutting from the open edges. Every pop-up cut starts at the fold; if a piece falls out, you cut the wrong side.
Close the card fully and open it to a right angle 10 times. Both pop-ups should rise smoothly and fold flat when closed without poking outside the card. If one sticks out when closed, trim an eighth of an inch off the top of that piece. You did it: a working pop-up card with a box and a talking mouth from one sheet. Next session, glue the card inside a second folded sheet to hide the holes, or cut a set of three nested slits of different lengths to make a staircase.
Show helpHide help
Tip: Common mistake: cutting from the open edges. Every pop-up cut starts at the fold; if a piece falls out, you cut the wrong side.
Tips
Common mistake: cutting from the open edges. Every pop-up cut starts at the fold; if a piece falls out, you cut the wrong side.
Keep pop-ups shorter than half the card's height, or they will poke out of the top edge when the card closes.
Crease every fold in both directions before you push it through. The pop-up then reverses with a clean snap instead of crumpling.
Practice on scrap paper first, then make the card you plan to give on a fresh sheet.
Glossary
- kirigami
- A Japanese paper art that uses cuts as well as folds, usually from one sheet with no glue.
- slit
- A straight cut into the paper that does not remove any paper.
- box step
- A pop-up made from a strip between two parallel cuts that stands out as a box when the card opens.
- paper engineer
- A designer who works out the cuts and folds that make pop-up books and cards move.
Communities
Resources
- Kirigami (Wikipedia)What kirigami is, how it differs from origami, and the artists who made it famous.
- Robert SabudaPop-up book artist with free printable pop-up templates graded from beginner to advanced, including single-sheet designs.
- Peter Dahmen (YouTube)German paper engineer whose videos show what simple cut-and-fold pop-up cards can become.
Frequently asked questions
Do I need card stock?
No. Printer paper works and is easier to cut. Card stock makes a sturdier card that stands up better once you know the cuts.
What is the difference between kirigami and origami?
Origami uses only folds. Kirigami adds cuts, which is what lets parts of the sheet stand up and pop out.
My pop-up sticks out of the card when I close it. How do I fix it?
The pop-up is too tall for the card. Trim a little off the top of it, or make the next cuts shorter. Pop-ups should be less than half the card's height.
Is it safe for kids?
Yes, with child-safe scissors and an adult nearby. Skip the craft knife unless an adult does the cutting on a board.
What should I make next?
Make a staircase of three box steps, glue the card into a cover sheet, or try a printable template for a pop-up shape such as a heart or tree.
Something off in this guide?