
Non-Dominant Hand Drawing
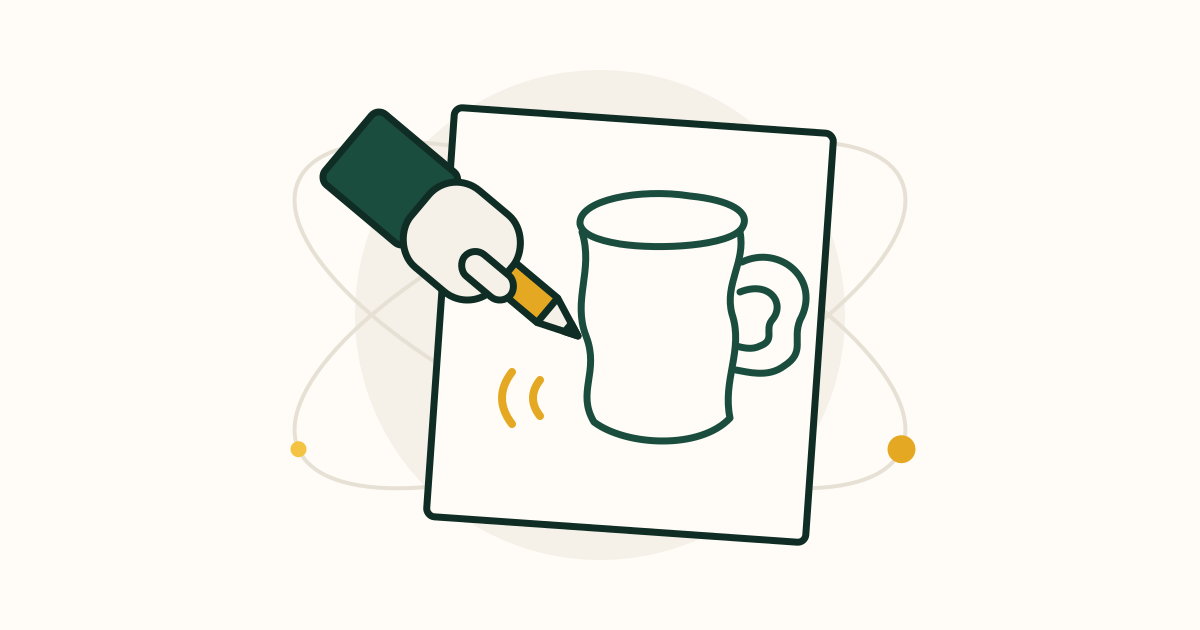
Draw a simple mug with the hand you never use. It loosens up stiff, overcareful drawing, makes you look harder at the object, and trains control in a hand that has hardly practiced. All you need is a pen, a scrap of paper and 5 minutes.
What you'll do
Warm up your other hand with lines and circles, then draw a mug twice with it and compare the two.
At a glance
- Time
- 5 minutes for your first session
- Cost
- Nothing to buy. It uses things you already have at home.
- You need
- A pen or pencil and a sheet of paper, A mug or cup
- Members
What you need
Required
- A pen or pencil and a sheet of paper × 1 sheet · $0 · household
Printer paper or the back of an envelope is fine. A ballpoint pen glides more easily than a pencil for a shaky hand.
- A mug or cup × 1 · $0 · household
One with a handle is ideal. Plain is better than patterned for a first try.
Alternatives: A drinking glass, a jar, or a can
How to do it
Pick up where you left off
Step ·
Hold the pen in your (the one you do not write with) the way you normally hold a pen, but about 3 cm (an inch) further back from the tip, with a loose grip. Put your usual hand flat on the corner of the paper to keep it still. Draw 5 straight lines across the page, then 5 circles about the size of a coin. Expect wobbles; that is the point. It worked if your fingers feel relaxed and the last circle is a little rounder than the first. The common mistake is squeezing the pen until your knuckles go white. If your hand aches, shake it out and loosen your grip by half.
Show helpHide help
non-dominant hand: The hand you do not normally write or draw with: the left for most right-handed people.
warm-up: A short, easy exercise that loosens your hand and eye before the main drawing.
Tip: Common mistake: trying to make it look like your normal drawing. The wobble is not failure; it forces you to slow down and look, which is the whole value of the exercise.
Put the mug about an arm's length away, slightly below eye level, with the handle pointing to one side. Before drawing, look at it for 30 seconds and find three shapes: a flattened for the rim at the top, two straight sides going down, and a C shape for the handle. Notice that the bottom of the mug curves the same way as the front edge of the rim, like a smile. This is how artists break any object into easy parts. The common mistake is drawing the mug you imagine, with a flat top and square bottom, instead of the one in front of you, so keep looking up at it.
Show helpHide help
oval: A stretched circle. A round rim seen from slightly above looks like an oval, which artists call an ellipse.
Tip: Common mistake: trying to make it look like your normal drawing. The wobble is not failure; it forces you to slow down and look, which is the whole value of the exercise.
With your , draw the rim first as an about the width of your palm. Then pull two side lines straight down from the ends of the oval, about as long as your finger. Join their bottoms with a curve that smiles like the front of the rim. Last, add the handle as a C shape on the side, with a smaller C inside it to show the hole. Move from your elbow and shoulder rather than just your fingers, and look at the mug more than at the paper. Take a full 2 minutes. It worked if someone could tell it is a mug, wobbles and all. Most beginners draw too small; if yours is smaller than a coin, start again bigger.
Show helpHide help
Tip: Common mistake: trying to make it look like your normal drawing. The wobble is not failure; it forces you to slow down and look, which is the whole value of the exercise.
Next to your first drawing, draw the mug again with the same hand in about 60 seconds, in the same order: rim, sides, bottom, handle. Then put the two side by side. The second is usually smoother and better , because your hand and eye have already learned the shape once. Notice too what the wobbly lines do well: they often look more lively than a careful drawing. You did it: you drew a recognizable object with the hand you never use. Next session, draw your resting on the table using your , or draw the mug while looking only at the mug and never at the paper.
Show helpHide help
dominant hand: The hand you naturally use for writing and fine tasks.
proportioned: Having parts the right size compared with each other, such as a handle that is not bigger than the mug.
Tip: Common mistake: trying to make it look like your normal drawing. The wobble is not failure; it forces you to slow down and look, which is the whole value of the exercise.
Tips
Common mistake: trying to make it look like your normal drawing. The wobble is not failure; it forces you to slow down and look, which is the whole value of the exercise.
Draw large. Big shapes use the arm and shoulder, which are much easier to control than tiny finger movements.
Date each drawing and keep them together. After a week of 5-minute sessions, the difference between the first and the latest is striking.
Use it as a before regular drawing. Two minutes with the other hand loosens up stiff, overly careful lines in your usual hand too.
Glossary
- non-dominant hand
- The hand you do not normally write or draw with: the left for most right-handed people.
- dominant hand
- The hand you naturally use for writing and fine tasks.
- oval
- A stretched circle. A round rim seen from slightly above looks like an oval, which artists call an ellipse.
- proportioned
- Having parts the right size compared with each other, such as a handle that is not bigger than the mug.
- warm-up
- A short, easy exercise that loosens your hand and eye before the main drawing.
Communities
Resources
- Proko (YouTube)Clear, friendly drawing lessons on basic shapes, line control and drawing from life, aimed at beginners as much as pros.
- Ambidexterity (Wikipedia)How rare true two-handedness is, and examples of artists, musicians and athletes who trained their other hand.
- Handedness (Wikipedia)Why about 90% of people favor their right hand, and what shapes which hand becomes dominant.
Frequently asked questions
Why would I draw with my bad hand?
Because it cannot rush or rely on habit. You have to slow down and really look at the object, and many people find their lines get looser and more expressive. It is also a quick way to train fine control in a hand that has hardly practiced.
Do I need to be able to draw already?
No. Everyone's other-hand drawing is wobbly, so there is nothing to compare against. If you can hold a pen, you can do this.
My hand cramps after a minute. What do I do?
Loosen your grip, hold the pen further from the tip, and draw bigger so the movement comes from your elbow. Shake your hand out between drawings. Cramping fades within a few sessions.
Will this make me ambidextrous?
Not fully, and that is not the goal. Regular practice does make the other hand noticeably steadier, and it often loosens up your usual drawing hand too.
How do I keep improving?
Draw one new simple object each session with your other hand: a spoon, a banana, a shoe. Once those feel easier, draw your own dominant hand, which is the classic next challenge.
Something off in this guide?