

Silhouette Cutting
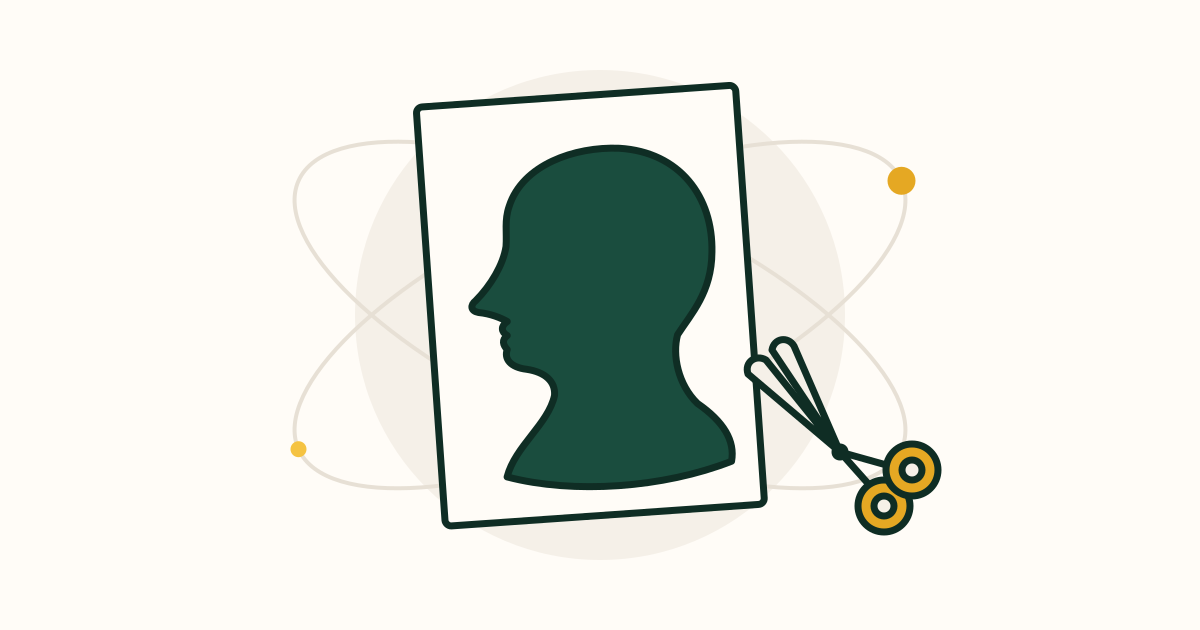
A is a side cut out as one solid shape: the forehead, nose, lips and chin read instantly as one particular person. Before photography, families paid traveling artists for these "shades", and the oldest trick was to trace the shadow a lamp throws on the wall. A phone flashlight or bare bulb, some paper, a pencil and scissors are all it takes to make one today.
What you'll do
Cast someone's side profile onto paper taped to the wall with a phone flashlight or bare bulb, trace it in pencil in under 2 minutes, then cut it out (or fill it with dark marker) and mount it as a classic portrait silhouette.

At a glance
- Time
- 15 minutes for your first session
- Cost
- Nothing to buy. It uses things you already have at home.
- You need
- A phone flashlight, or a lamp you can take the shade off, Someone to sit for you, or an object with a clear outline, Plain paper, Pencil, tape and scissors
- Members
What you need
Required
- A phone flashlight, or a lamp you can take the shade off × 1 · $0 · household
You want one small, bright light: the smaller the light, the sharper the shadow edge. A phone's flashlight propped on books gives the crispest edge. A bare bulb works but gives a slightly soft edge, because the bulb itself is several centimeters wide. A ceiling light or a shaded lamp is too big and spread out: it makes a blurry shadow.
Alternatives: Bare bulb in a table or desk lamp, A torch or flashlight
- Someone to sit for you, or an object with a clear outline × 1 · $0 · household
A friend, partner or child who can sit still for 2 minutes. Nobody around? Trace a vase, a mug with a handle, a houseplant or a figurine; it works the same way.
Alternatives: Vase or bottle, Mug with a handle, Houseplant
- Plain paper × 4 sheets of printer paper, letter or A4 · $0 · household
A head's shadow is always at least life size, too big for one sheet, so you tape 2 sheets together to trace on and 2 more to mount the finished silhouette on. Any light-colored paper works. For a dark silhouette, add a brown paper grocery bag cut open, if you have one.
Alternatives: A large sheet of wrapping paper or newsprint, plain side out, The plain inside of a flattened cereal box, for mounting
- Pencil, tape and scissors × 1 of each, plus about 8 small pieces of tape · $0 · household
Any tape that peels off the wall without marking it, such as masking or painter's tape. Small scissors cut the curves around the lips and nose more easily than big kitchen scissors.
Alternatives: Sticky notes' sticky strips instead of tape, Nail scissors for the small curves
Nice to have
- Dark marker × 1 · $0 · household
To fill the profile in solid black or dark blue if you have no dark paper, or if you would rather not cut.
- Glue stick × 1 · $0 · household
Sticks the cutout down flat. Two loops of tape on the back work too.
How to do it
Pick up where you left off
Step ·
Choose a plain, light-colored wall with a chair beside it. Tape 2 sheets of paper together along their long edges, both turned sideways, one above the other, so you have one tall sheet about 28 by 43 cm (11 by 17 inches). Tape it to the wall with a piece on each corner, its middle at the 's head height once they are seated. Put the chair sideways to the wall so the sitter's shoulder almost touches it, about 5 cm (2 inches) away: the closer the head is to the paper, the sharper and smaller the shadow. Prop the phone, flashlight on, against a stack of books on a table or shelf 1.5 to 2 m (5 to 6 feet) away on the other side of the chair, with the light level with the sitter's nose and pointing straight at the paper (or set a lamp there with its off). Turn off the other lights. Slide the light closer to make the shadow bigger, or farther to make it a little smaller and sharper, until the shadow of the head and neck fits on the paper with about 3 cm (1 inch) to spare. It worked if the edge of the shadow is crisp enough that you can see the gap between the lips. Common mistake: the light too low or too high, which stretches the face. Keep it level with the sitter's nose.
Show helpHide help
hard light: Light from one small, bright source, which casts a shadow with a sharp edge.
Tip: Common mistake: using a big light. A ceiling light or a lamp with its shade on makes a soft, blurry shadow you cannot trace. Use a phone flashlight or one bare bulb, level with the nose.
Ask the to look straight ahead at a spot on the far wall, chin level, mouth gently closed, and to hold still. Long hair looks best tied back or up, so the neck shows. Stand beside the paper, at the side the sitter is facing, and reach in so only your hand and pencil cast a shadow, not your head or body. Starting at the back of the head, draw one steady pencil line along the edge of the shadow: over the top of the head, down the forehead, around the nose, the lips and the chin, then down the front of the neck. Trace the back of the head and neck too. Work fast; aim to finish in under 2 minutes so the sitter does not drift. Then, below the neck, draw the classic base: a curved line sweeping across from the back of the neck to the front, like the bottom edge of a . It worked if the line is closed all the way around and the nose, lips and chin are clear. Common mistake: tracing inside the shadow edge on the curves. Stay right on the boundary between light and dark.
Show helpHide help
profile: The outline of a face seen exactly from the side: forehead, nose, lips and chin.
sitter: The person whose portrait is being made.
bust: A portrait of the head, neck and top of the shoulders, ending in a curved base.
Tip: Common mistake: using a big light. A ceiling light or a lamp with its shade on makes a soft, blurry shadow you cannot trace. Use a phone flashlight or one bare bulb, level with the nose.
Thank your , turn the room lights back on and take the paper down. Look over the line and smooth any wobble with a second pencil pass, keeping the shapes of the nose, lips and chin exactly as traced; they are what make it look like that person. For a dark , lay the tracing on top of a brown paper bag cut open flat and hold the two together with 2 or 3 small loops of tape between them, then cut through both at once. Otherwise, cut just the tracing. Cut slowly, right on the line. Turn the paper, not the scissors, and for the tight spots under the nose and between the lips, make small snips in from each side until the waste piece falls away. It worked if the edge is smooth and the still reads as your sitter at arm's length. Would rather not cut? Fill the whole traced shape solid with dark marker, using strokes in one direction; on a life-size head that takes about 5 minutes.
Show helpHide help
Tip: Common mistake: using a big light. A ceiling light or a lamp with its shade on makes a soft, blurry shadow you cannot trace. Use a phone flashlight or one bare bulb, level with the nose.
Tape 2 more sheets together the same way for the backing, or use the plain inside of a flattened cereal box. If you cut a brown copy, mount that. If you only have the white cutout, either glue it onto the opened brown bag for a pale on a dark ground, or color it solid with dark marker on the side without the pencil line. Turn it so the pencil side faces down; the profile now faces the other way, which is fine. Put a little glue stick (or two loops of tape) on the back and center it on the backing, with a hand's width of space above the head. Press it flat from the middle out. Write the 's name and today's date small along the bottom, the way old silhouettes were labeled. It worked if the shape sits flat with no lifted edges.
Show helpHide help
Tip: Common mistake: using a big light. A ceiling light or a lamp with its shade on makes a soft, blurry shadow you cannot trace. Use a phone flashlight or one bare bulb, level with the nose.
Prop the portrait up and step back 3 m (10 feet). Ask someone else who it is. You did it: a hand-traced portrait, the same way people made shades of their family 250 years ago. Next time, trace everyone in your home on the same size paper and hang the profiles in a row, or try a pet asleep on its side or a houseplant on the windowsill.
Show helpHide help
Tip: Common mistake: using a big light. A ceiling light or a lamp with its shade on makes a soft, blurry shadow you cannot trace. Use a phone flashlight or one bare bulb, level with the nose.
Tips
Common mistake: using a big light. A ceiling light or a lamp with its on makes a soft, blurry shadow you cannot trace. Use a phone flashlight or one bare bulb, level with the nose.
Keep the close to the wall. The farther their head is from the paper, the bigger and fuzzier the shadow gets. Shoulder almost touching the wall is a good start.
Glasses, loose curls and open mouths make messy edges. Ask the to take glasses off and close their mouth, and tie long hair back unless the hairstyle is the point.
The lives in three spots: the bump of the nose, the lips and the chin. Spend your care there when tracing and cutting; the back of the head can be a smooth curve.
Kids love being traced, but give them a job: they hold the flashlight while you trace someone else, then swap. The shadow shrinks or grows as they move it, which is half the fun.
Glossary
- silhouette
- An outline of a person or object filled in as one solid shape, usually black on a light background.
- profile
- The outline of a face seen exactly from the side: forehead, nose, lips and chin.
- shade
- An 18th-century name for a silhouette portrait.
- sitter
- The person whose portrait is being made.
- bust
- A portrait of the head, neck and top of the shoulders, ending in a curved base.
- hard light
- Light from one small, bright source, which casts a shadow with a sharp edge.
Communities
Resources
- Silhouette (Wikipedia)The history of profile portraits, from Pliny's lamplight-tracing legend to the 18th-century craze for cut black card and the traveling artists of the 1800s.
- Creating Silhouette Portraits: Using light and shadow (The Bluecoat)A one-page classroom sheet from the Liverpool arts centre on tracing a torch shadow, then cutting the outline from black paper.
- How to Make Silhouette Portraits (Library of Virginia, PDF)A photo-based method for when the sitter cannot keep still, plus posing tips and a short history of silhouettes as everyday portraits.
Frequently asked questions
How long does a silhouette portrait take?
About 15 minutes for a first one: 4 to set up, 3 to trace, 5 to cut and a few to mount. Traditional silhouette artists cut small profiles freehand in a few minutes without tracing at all.
Do I need black paper?
No. A brown paper grocery bag cut along with the tracing works well, or you can glue a white cutout onto the opened bag. You can also color a white cutout solid with dark marker. Black card looks most traditional if you have it.
Why is my shadow blurry?
The light is too big, or the sitter is too far from the wall. A phone flashlight gives the sharpest edge; a bare bulb is a little softer. Move the sitter until their shoulder almost touches the wall, and slide the light back a little until the edge sharpens.
My sitter can't keep still. What can I do?
Trace in short bursts: the face first, since it matters most, then let them relax before you trace the back of the head. For small children, take a side-on photo instead, then trace it.
Is this the same as shadow puppets?
No. Shadow puppets move hands or cutouts in front of a light to tell a story. Silhouette cutting uses the light only to capture a still profile, which you then keep as a portrait.
Can I make one without a person?
Yes. Trace a vase, a mug with a handle, a houseplant, a pet asleep on its side or a favorite toy. Objects hold perfectly still, so they make a good first try.
Something off in this guide?