

Stippling
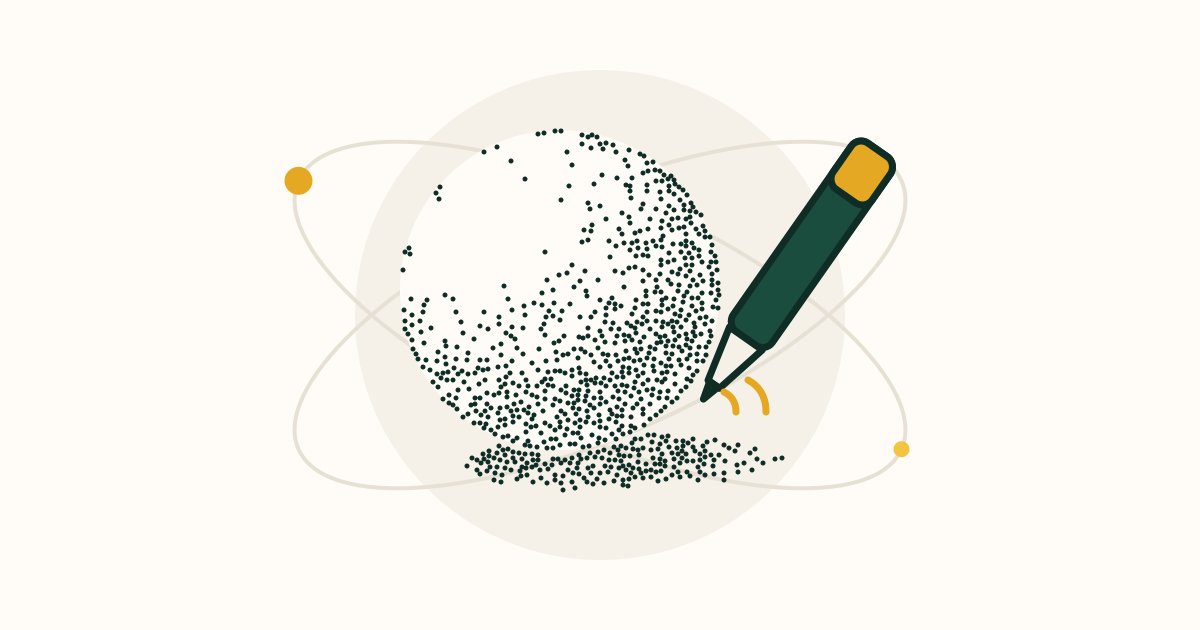
is shading with nothing but dots: close together for dark, far apart for light. Tap enough of them into a circle and it turns into a ball you could pick up. Any ballpoint or felt-tip pen and a sheet of paper are all it takes, and the steady tap, tap, tap is calming.
What you'll do
Warm up with three squares of light, medium and dark dots, then trace a small lid into a 4 cm circle and shade it into a sphere using only dots: a bare highlight, a dense shadow side and a dark shadow on the table under it.
At a glance
- Time
- 15 minutes for your first session
- Cost
- Nothing to buy. It uses things you already have at home.
- You need
- A ballpoint or felt-tip pen, A sheet of printer or notebook paper, A small lid, cap or glass to trace
- Members
What you need
Required
- A ballpoint or felt-tip pen × 1 · $0 · household
A fine felt-tip or gel pen makes the crispest dots. A ballpoint works too, but it sometimes leaves a blob: wipe the tip on a scrap of paper every minute or so. Avoid thick markers; their dots are too big for a small drawing.
Alternatives: Fine gel pen, Fineliner, A sharp pencil (lighter, but it works)
- A sheet of printer or notebook paper × 1 sheet · $0 · household
Smooth paper is best. Put a magazine or a few sheets under it so the pen taps on something slightly soft.
Alternatives: The back of an envelope, A blank page in a notebook
- A small lid, cap or glass to trace × 1, about 4 cm (1 1/2 inches) across; anything from 3 to 5 cm works · $0 · household
It gives you a clean circle so all your attention goes on the dots. Keep it small: a ball the size of a mug takes several thousand dots and well over 15 minutes. A spice-jar lid, a soda-bottle cap, a shot glass or the base of a small bottle are about right.
Alternatives: Spice-jar lid, Soda-bottle cap, Shot glass
Nice to have
- A pencil and eraser × 1 · $0 · household
For a faint guide circle you rub out at the end. Without one, trace the circle with a ring of light pen dots instead.
- Fineliner pen, 0.3 mm or 0.5 mm × 1 · $2-4 · purchased
Gives an even, round dot every time with no blobs. Nice to have if you keep going.
How to do it
Pick up where you left off
Step ·
Near the top of the paper, draw three squares in a row, each about 1 cm (3/8 inch) across, with a gap between them. Hold the pen upright, like a tiny hammer, and tap: straight down, straight up, no sliding. Fill the left square with dots about 3 mm (1/8 inch) apart (about a dozen dots), the middle one with dots about 1 mm apart, and the right one with dots so close they almost touch. Spread the dots at random, not in rows. It worked if, when you lean back, the squares read as light grey, mid grey and nearly black. Common mistake: flicking the pen so each dot grows a little tail. Slow down; a tail means the pen moved sideways before it lifted.
Show helpHide help
value: How light or dark a tone is, from white paper to black. Your three warm-up squares are three values.
Tip: Common mistake: pressing harder to make dark areas. Dark comes from more dots closer together, not from pressure. Pressing hard makes bigger, uneven dots and can tear thin paper.
Put the lid or glass upside down in the middle of the paper and trace around it very lightly in pencil. Now decide the light comes from the top left. Draw a faint pencil circle about 8 mm (5/16 inch) across, the size of a pea, inside the ball, a third of the way in from the top left edge: that is the , and it stays bare paper. Then draw a faint curved line from the edge at about 7 o'clock to the edge at about 1 o'clock, bowing out toward the bottom right so its middle sits roughly a third of the way in from the bottom right edge: everything below and right of it is the . Last, sketch a flat oval under the ball, sticking out to the lower right, about as wide as the ball: the on the table. It worked if you can point to three areas: bare highlight, lit middle and shadow side. Common mistake: putting the highlight right in the center, which makes the ball look flat like a coin.
Show helpHide help
highlight: The brightest spot on an object, where the light hits it most directly. In stippling it is left as bare paper.
Tip: Common mistake: pressing harder to make dark areas. Dark comes from more dots closer together, not from pressure. Pressing hard makes bigger, uneven dots and can tear thin paper.
Dot the whole ball at the light spacing from your left square, about 3 mm apart, everywhere except inside the circle. Let the dots get a little sparser as you near the highlight so there is no hard edge around it. Skip the outline: the edge of the ball should come from where the dots stop, not from a drawn line. It worked if the ball now looks like a pale grey disc with a soft white spot near the top left. Common mistake: tracing the circle in ink. A solid outline makes it look like a cartoon; you can only darken with dots, never lighten, so keep the edge as dots.
Show helpHide help
Tip: Common mistake: pressing harder to make dark areas. Dark comes from more dots closer together, not from pressure. Pressing hard makes bigger, uneven dots and can tear thin paper.
Go back over the , below and right of your curved line, and add dots in the gaps between the first ones until they are about 1 mm apart, like your middle square. Then go over just the outer band, about 3 mm (1/8 inch) wide along the bottom right edge, and add more until the dots nearly touch, like your right square. Work the dots outward from the curved line so the change is gradual: sparse, then medium, then dense. For an extra touch, leave a thin strip right at the bottom edge a little lighter than the band above it; that is light bouncing up off the table. It worked if, when you squint, the ball looks round: bright top left, rolling smoothly into dark bottom right. Common mistake: making a sharp stripe where light meets dark. If you see a line, add a few in-between dots along it to blend.
Show helpHide help
shadow side: The part of an object turned away from the light. On a ball it is a curved band on the side opposite the highlight.
reflected light: Light that bounces off the table back onto the bottom of the object, making a thin strip at the edge of the shadow side slightly lighter.
Tip: Common mistake: pressing harder to make dark areas. Dark comes from more dots closer together, not from pressure. Pressing hard makes bigger, uneven dots and can tear thin paper.
Fill the oval under the ball with dots. Make them densest, almost solid, right where the ball touches the table, a small dark wedge about 5 mm (1/4 inch) long, and let them spread out toward the far end of the oval so it fades away. Once the ink is dry, about a minute, gently rub out the pencil lines. Hold the paper at arm's length and squint. You did it: a flat circle of dots now reads as a solid ball resting on a table, made with nothing but a pen. Next time, stipple a real apple from your kitchen with the light from a window, leaving a small dip at the top for the stem.
Show helpHide help
cast shadow: The shadow an object throws onto the surface it sits on. It is darkest right where the object touches the surface.
Tip: Common mistake: pressing harder to make dark areas. Dark comes from more dots closer together, not from pressure. Pressing hard makes bigger, uneven dots and can tear thin paper.
Tips
Common mistake: pressing harder to make dark areas. Dark comes from more dots closer together, not from pressure. Pressing hard makes bigger, uneven dots and can tear thin paper.
Squint often. Squinting blurs the dots together so you see the grey tones instead of the marks, and any patch that is too dark or too light jumps out.
Turn the paper as you work so your hand never rests on fresh ink. A ballpoint smudges easily for the first minute.
Scatter the dots. Dots in neat rows or little lines form patterns the eye picks out, and the shading stops looking smooth.
Stop a little early. only goes one way: you can always add dots, but you can never take one away.
Glossary
- stippling
- Drawing or shading with many small dots instead of lines. More dots close together look darker; fewer, spread out, look lighter.
- highlight
- The brightest spot on an object, where the light hits it most directly. In stippling it is left as bare paper.
- shadow side
- The part of an object turned away from the light. On a ball it is a curved band on the side opposite the highlight.
- cast shadow
- The shadow an object throws onto the surface it sits on. It is darkest right where the object touches the surface.
- reflected light
- Light that bounces off the table back onto the bottom of the object, making a thin strip at the edge of the shadow side slightly lighter.
- value
- How light or dark a tone is, from white paper to black. Your three warm-up squares are three values.
Communities
Resources
- Alphonso Dunn (YouTube)A pen-and-ink teacher with hundreds of clear lessons, including a video on drawing and shading with stippling, plus hatching and cross-hatching to try next.
- Stippling art: a beginner's step-by-step guide (Gathered)Builds a stippled apple layer by layer from a photo, with a pencil underdrawing, a blanket layer of dots and darker passes on top.
- What is stippling? (Oleander Studios)A short explainer on mapping values, placing dots at random, and which pen tip sizes suit dark and light areas.
Frequently asked questions
How long does it take to learn stippling?
The dot itself takes a minute, and a first shaded sphere takes about 15 minutes. Smooth gradients come after a few sessions; detailed stippled pictures can take hours, which is why starting small matters.
Can I stipple with a ballpoint pen?
Yes. Any pen that makes a small dark dot works. Ballpoints sometimes leave blobs, so wipe the tip on scrap paper now and then. A fine felt-tip, gel pen or a $2-4 fineliner gives a rounder, more even dot.
Why do my dots look like little lines or commas?
The pen is moving sideways before it lifts, usually from going too fast. Hold it upright and tap straight down and straight up. A steady, slower rhythm fixes it within a minute.
My sphere looks flat. What went wrong?
Usually the dark side ends in a hard line, or the highlight is in the center. Add in-between dots where light meets dark so the change is gradual, keep the highlight toward one side, and add a cast shadow under the ball.
What is the difference between stippling and pointillism?
Stippling is shading with dots, usually in one color of ink. Pointillism is a painting style, made famous by Georges Seurat, that places dots of different colors side by side so they mix in your eye.
How is stippling different from Zentangle or doodling?
Zentangle and doodling fill space with patterns. Stippling uses dots to show light and shadow, so the goal is to make something look solid and three-dimensional.
Something off in this guide?