

Tunnel Books
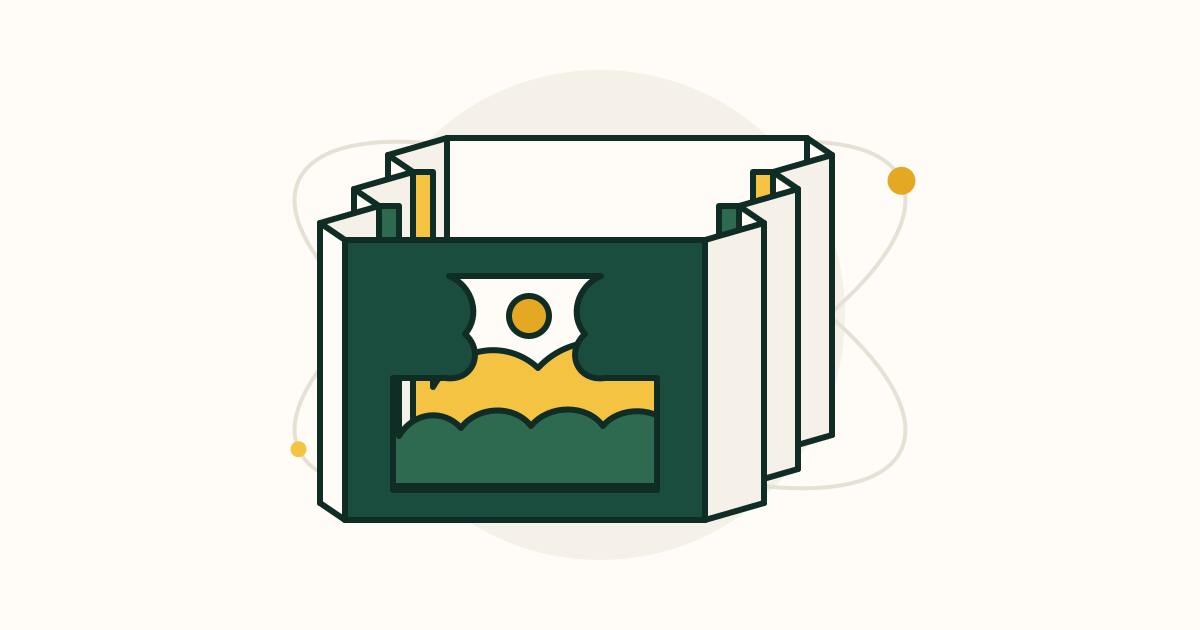
A is a small paper scene you look into: three cut-out layers stand one behind another on folded paper sides, so a flat drawing turns into a little stage with real depth. Your first one needs only two sheets of printer paper, scissors, glue and markers. In 30 minutes you can hold up a finished forest, street or seabed and peer down it.
What you'll do
Cut two sheets of printer paper into four matching panels and six side strips, fold the strips into M-shaped accordions, draw and cut a front frame and two cut-out layers in front of a colored back wall, then glue it all together from back to front and stretch it open into a standing tunnel book about 14 x 11 cm (5 1/2 x 4 1/4 inches) across.

At a glance
- Time
- 30 minutes for your first session
- Cost
- Nothing to buy. It uses things you already have at home.
- You need
- Printer paper, Scissors, Glue stick or clear tape, Markers, crayons or colored pencils, plus a pencil, A ruler
- Members
What you need
Required
- Printer paper × 2 sheets, US letter (8.5 x 11 inches) or A4 · $0 · household
One sheet becomes the four layers, the other the six side strips. Thicker paper stands up better, but ordinary copy paper works for a first book this size.
Alternatives: Plain drawing paper or the blank backs of old letters, as long as both sheets are the same size
- Scissors × 1 pair · $0 · household
Small, pointed scissors make the window cuts easier, but any household scissors will do.
Alternatives: A craft knife on a thick piece of cardboard, for an adult, if your scissors are blunt
- Glue stick or clear tape × 1 glue stick, or about 50 cm (20 inches) of tape · $0 · household
A glue stick keeps the paper flat. With tape, roll small loops sticky side out and put one on each tab.
Alternatives: Double-sided tape, White school glue, spread very thin with a fingertip so the paper doesn't wrinkle
- Markers, crayons or colored pencils, plus a pencil × 3 to 5 colors and 1 pencil · $0 · household
Crayons and colored pencils don't soak through thin paper. If you use markers, color lightly in one pass.
Alternatives: Ballpoint pens in a few colors
- A ruler × 1, at least 15 cm (6 inches) · $0 · household
Only for drawing the glue margins in step 3.
Alternatives: The edge of a book or a folded side strip used as a straight edge and width gauge
Nice to have
- A piece of cereal box × 1 piece about 14 x 11 cm (5 1/2 x 4 1/4 inches) · $0 · household
Glue it to the back of the back wall so the book stands firmer and doesn't sag.
Alternatives: Any thin cardboard packaging
- White cardstock × A pack of about 50 sheets, 65 lb (about 176 gsm) · $5-10 · purchased
Stiffer layers and crisper folds for your second book. It needs a firm crease: run a ballpoint pen along a ruler on each fold line first.
Alternatives: Construction paper
How to do it
Pick up where you left off
Step ·
Take sheet 1. Fold it in half top to bottom and crease hard, then fold it in half again left to right and crease. Unfold it and cut along both creases to get 4 matching panels, each about 14 x 11 cm (5 1/2 x 4 1/4 inches). Hold them landscape, long side along the bottom; these are your 4 layers. Take sheet 2. Fold it in half lengthwise, long edge to long edge, and cut along the crease to get 2 long strips. Fold each strip in half end to end, then in half again, unfold and cut along the 3 creases. That gives 8 small strips about 7 x 11 cm (2 3/4 x 4 1/4 inches); you need 6, so keep 2 spare. It worked if the 4 panels sit exactly on top of each other when stacked, and each strip is as tall as a panel's short side. Common mistake: cutting beside the crease instead of on it. Panels of different sizes make the finished book lean, so trim any big one to match the others.
Show helpHide help
Tip: Common mistake: filling every layer with small detail. Tunnel books read from a distance, so use a few big, bold shapes on each layer and save tiny details for the back wall's upper middle, where nothing covers them.
Hold one small strip so its long sides run up and down. Fold it in half, long edge to long edge, and crease. Keep it folded. Fold the top layer back on itself so its edge meets the crease, and crease again. Flip the strip over and do the same with the other layer. Open it slightly and look down at the top edge: it should zigzag like the letter M, with 4 sections about 1.7 cm (11/16 inch) wide. Fold all 6 strips the same way. The two outer sections of each M are its tabs; they get glued to the panels. It worked if each strip stands on its edge as an M and folds flat into a neat stack. Common mistake: folding both edges toward the same side, which makes a box shape instead of a zigzag. Refold one side in the other direction.
Show helpHide help
accordion: Paper folded back and forth in a zigzag, like the bellows of an accordion, so it can stretch out and fold flat again.
M strip: A small paper strip folded into four equal sections that zigzag like the letter M. Its two outer sections, the tabs, are glued to two neighboring layers.
Tip: Common mistake: filling every layer with small detail. Tunnel books read from a distance, so use a few big, bold shapes on each layer and save tiny details for the back wall's upper middle, where nothing covers them.
On every panel, use the ruler to draw a light pencil line 2 cm (3/4 inch) in from the left edge and another 2 cm in from the right edge. These side strips are the : you never cut into them. Pick the panel that will be the , layer 4. Fill it completely with the farthest part of your scene. For a forest walk: a blue sky over the top two thirds, a yellow sun, faint distant mountains and a green ground strip along the bottom. Color right to the edges, because this panel is not cut at all. It worked if the whole back wall is colored and you can still see the margin lines on the other 3 panels. Common mistake: drawing small details in the middle of the back wall. Layers 2 and 3 will cover the bottom and sides, so put anything important in the upper middle.
Show helpHide help
glue margins: The plain strips down the left and right sides of each panel where the M strips are glued. Nothing is cut there, so every layer stays attached.
back wall: The last panel, left uncut and fully colored, that shows the farthest part of the scene, such as the sky.
Tip: Common mistake: filling every layer with small detail. Tunnel books read from a distance, so use a few big, bold shapes on each layer and save tiny details for the back wall's upper middle, where nothing covers them.
Take a second panel for layer 1, the . Draw a window inside it, staying inside both margin lines and leaving at least 2 cm (3/4 inch) of paper above and below, so the window is about 10 x 7 cm (4 x 2 3/4 inches). Make its edges part of the picture: a tree trunk up each side and leafy branches along the top. Color the frame now, before cutting. To start the inside cut, pinch the middle of the window area so it folds a little, snip a 1 cm (1/2 inch) slit into the fold, push the scissors through and cut out along your line. It worked if the frame is one unbroken piece, like a picture frame, and you can look through it. Common mistake: cutting through the bottom or side of the frame to get the scissors in. That breaks the frame in two; always start from a slit in the middle.
Show helpHide help
front frame: The first layer of a tunnel book, a panel with a window cut in it that you look through.
Tip: Common mistake: filling every layer with small detail. Tunnel books read from a distance, so use a few big, bold shapes on each layer and save tiny details for the back wall's upper middle, where nothing covers them.
Layer 2, just behind the frame: draw bushes or trees rising up from the left and right margins and joined by a ground strip at least 2 cm (3/4 inch) tall along the bottom. Color it, then cut away the whole middle and the sky above, so the piece looks like a deep U with full-height sides. Layer 3, the far layer: draw a hill line about a third of the way up the panel, with one small house or tree poking above it. Color it and cut away all the sky above the hill line, keeping both margins full height so it looks like a shallow U. Now stack the panels in order, frame on top and underneath, and look through the window. It worked if you can see a bit of every layer. Common mistake: leaving the openings in layers 2 and 3 narrower than the front window, which hides the back wall. Cut them wider, and make things on the front layers bigger than things at the back.
Show helpHide help
Tip: Common mistake: filling every layer with small detail. Tunnel books read from a distance, so use a few big, bold shapes on each layer and save tiny details for the back wall's upper middle, where nothing covers them.
Lay the face up. Rub glue on the underside of one tab of an and press it onto the left margin so the fold next to the tab sits exactly on the panel's left edge, with the rest of the M sticking out past the edge. Do the same on the right margin. Fold both Ms flat so their other tabs lie on top of the first ones, rub glue on the top of those tabs, and press layer 3 onto them face up, edges lined up with the back wall. Hold for 10 seconds. Repeat: 2 Ms on layer 3's margins, then layer 2, then 2 more Ms, then the . Now hold the front and back and gently pull them apart until the whole book is about 6 cm (2 1/2 inches) deep, roughly 2 cm (3/4 inch) between each pair of layers. Don't stretch any M flat; it should stay a V. Stand the book on the table and look through the frame. You did it: a standing with zigzag sides and a scene that goes back into the distance. Common mistake: glue on the middle sections of an M, which glues the zigzag shut so that side won't stretch. Next session, try an underwater or city street theme, or add a fourth cut-out layer with two more M strips.
Show helpHide help
Tip: Common mistake: filling every layer with small detail. Tunnel books read from a distance, so use a few big, bold shapes on each layer and save tiny details for the back wall's upper middle, where nothing covers them.
Tips
Common mistake: filling every layer with small detail. Tunnel books read from a distance, so use a few big, bold shapes on each layer and save tiny details for the 's upper middle, where nothing covers them.
Make things bigger the closer they are to the front. A tree on the frame should be taller than a tree on layer 3, and a house on the far hill should be tiny. That size change is what makes the scene look deep.
Color before you cut. Coloring a cut-out layer bends its thin parts and the marker catches on the edges; a flat, uncut panel is much easier to color neatly.
If the book sags or leans, glue a piece of cereal box to the back of the . It gives the whole tunnel a firm base without changing how it opens.
Stand your finished book with its back to a sunny window or a lamp. Light coming through the paper layers makes the far ones glow and the depth much stronger.
Glossary
- tunnel book
- A book made of several cut-out layers held one behind another by folded sides, so you look through the front into a scene with depth.
- accordion
- Paper folded back and forth in a zigzag, like the bellows of an accordion, so it can stretch out and fold flat again.
- M strip
- A small paper strip folded into four equal sections that zigzag like the letter M. Its two outer sections, the tabs, are glued to two neighboring layers.
- glue margins
- The plain strips down the left and right sides of each panel where the M strips are glued. Nothing is cut there, so every layer stays attached.
- front frame
- The first layer of a tunnel book, a panel with a window cut in it that you look through.
- back wall
- The last panel, left uncut and fully colored, that shows the farthest part of the scene, such as the sky.
Communities
Resources
- Tunnel Books: An Easy Step by Step (Topeka & Shawnee County Public Library)A librarian's three-page tunnel book with M-shaped accordion sides, plus book suggestions for going further.
- Under the Sea Tunnel Book (Easy Peasy and Fun)A printable tunnel book template with accordion grids to color, cut and assemble, with advice on paper weight and markers.
- Make a 3D Layered Scene (BBC Bitesize)How to split a picture into foreground, middle and background frames and join them with rolled card spacers.
- Sea Lemon (YouTube)A long-running channel of clear, beginner-friendly handmade book projects for when you want to try other book forms after tunnel books.
Frequently asked questions
How long does it take to make a tunnel book?
About 30 minutes for a first one with four layers, most of it drawing and cutting. Once you have folded a set of M strips, a second book goes faster, and a simple two-layer version takes about 15 minutes.
Do I need to buy anything?
No. Two sheets of printer paper, scissors, a glue stick or tape and something to color with are enough. White cardstock makes a sturdier book later, and a piece of cereal box behind the back wall does much the same job for nothing.
Why won't my tunnel book stand up or stay open?
Usually the panels are different sizes, so the book leans, or glue got onto the middle sections of an M strip and holds that side shut. Trim the panels to match, and if one side won't stretch, gently peel the stuck sections apart. A cereal box backing also helps a floppy printer-paper book stand.
How is a tunnel book different from a pop-up card?
A pop-up card is cut and folded from one sheet so shapes spring up when you open it. A tunnel book is separate flat layers spaced one behind another on folded sides, and you look into it through a window like a little stage.
Can I add more layers?
Yes. Each new layer needs one more panel and two more M strips, one for each side. Four to six layers is a good range; past that the front window has to be very large for the back to show.
Can I use tape instead of glue?
Yes. Roll small loops of clear tape sticky side out and put one on each tab, keeping the tape off the middle sections of the M strips so they can still move. Double-sided tape is even neater.
Something off in this guide?